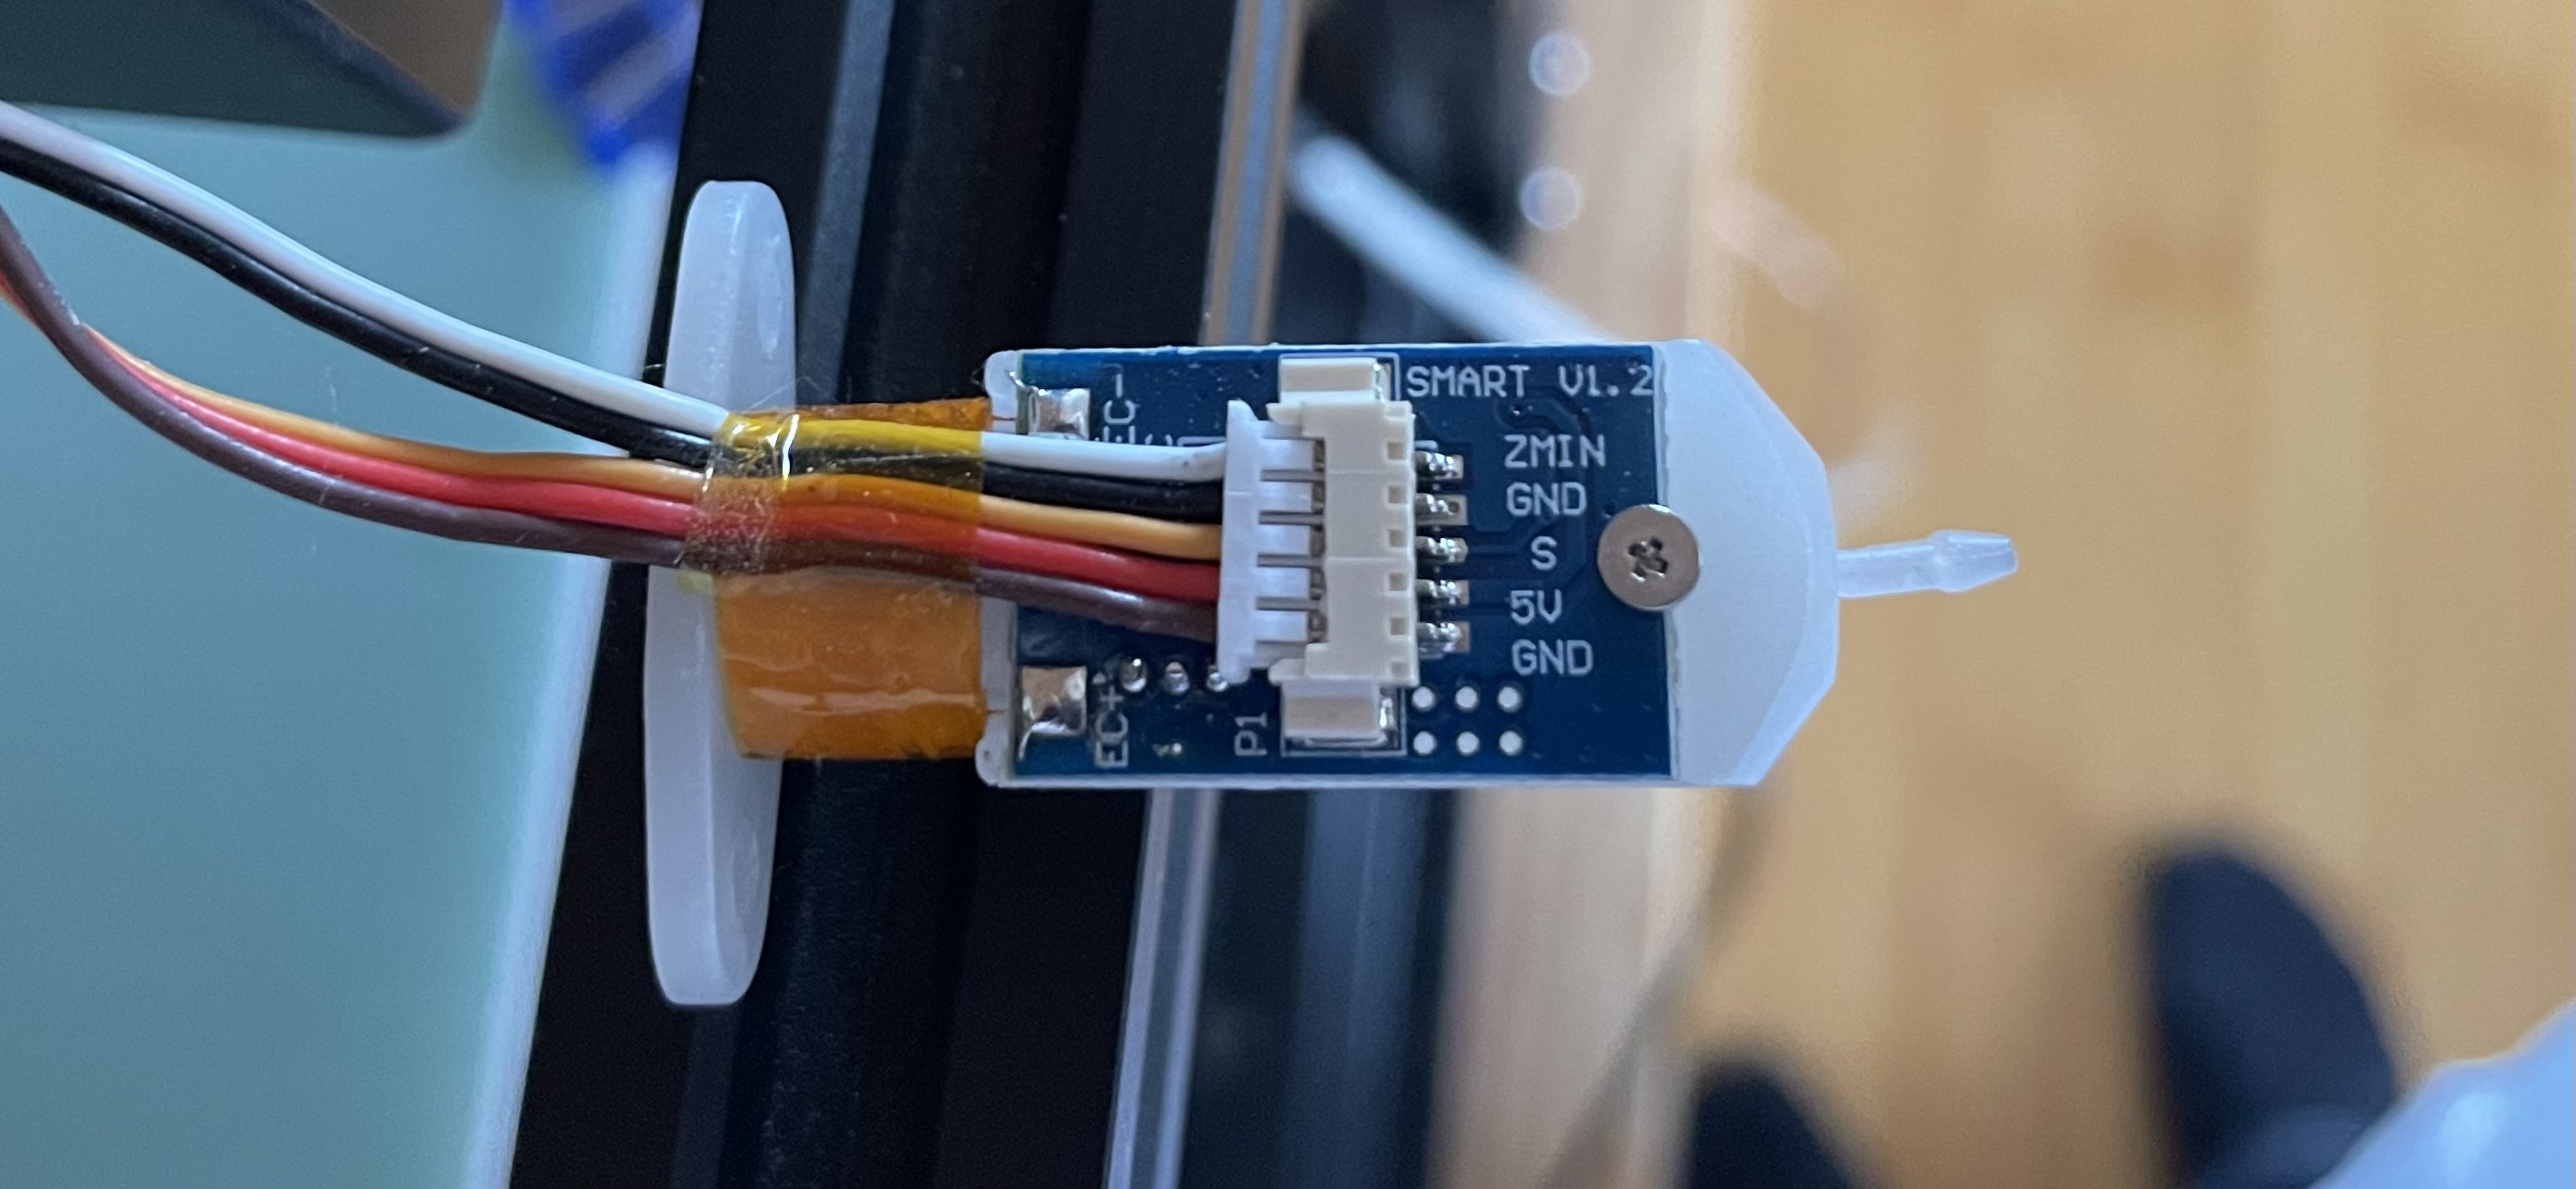
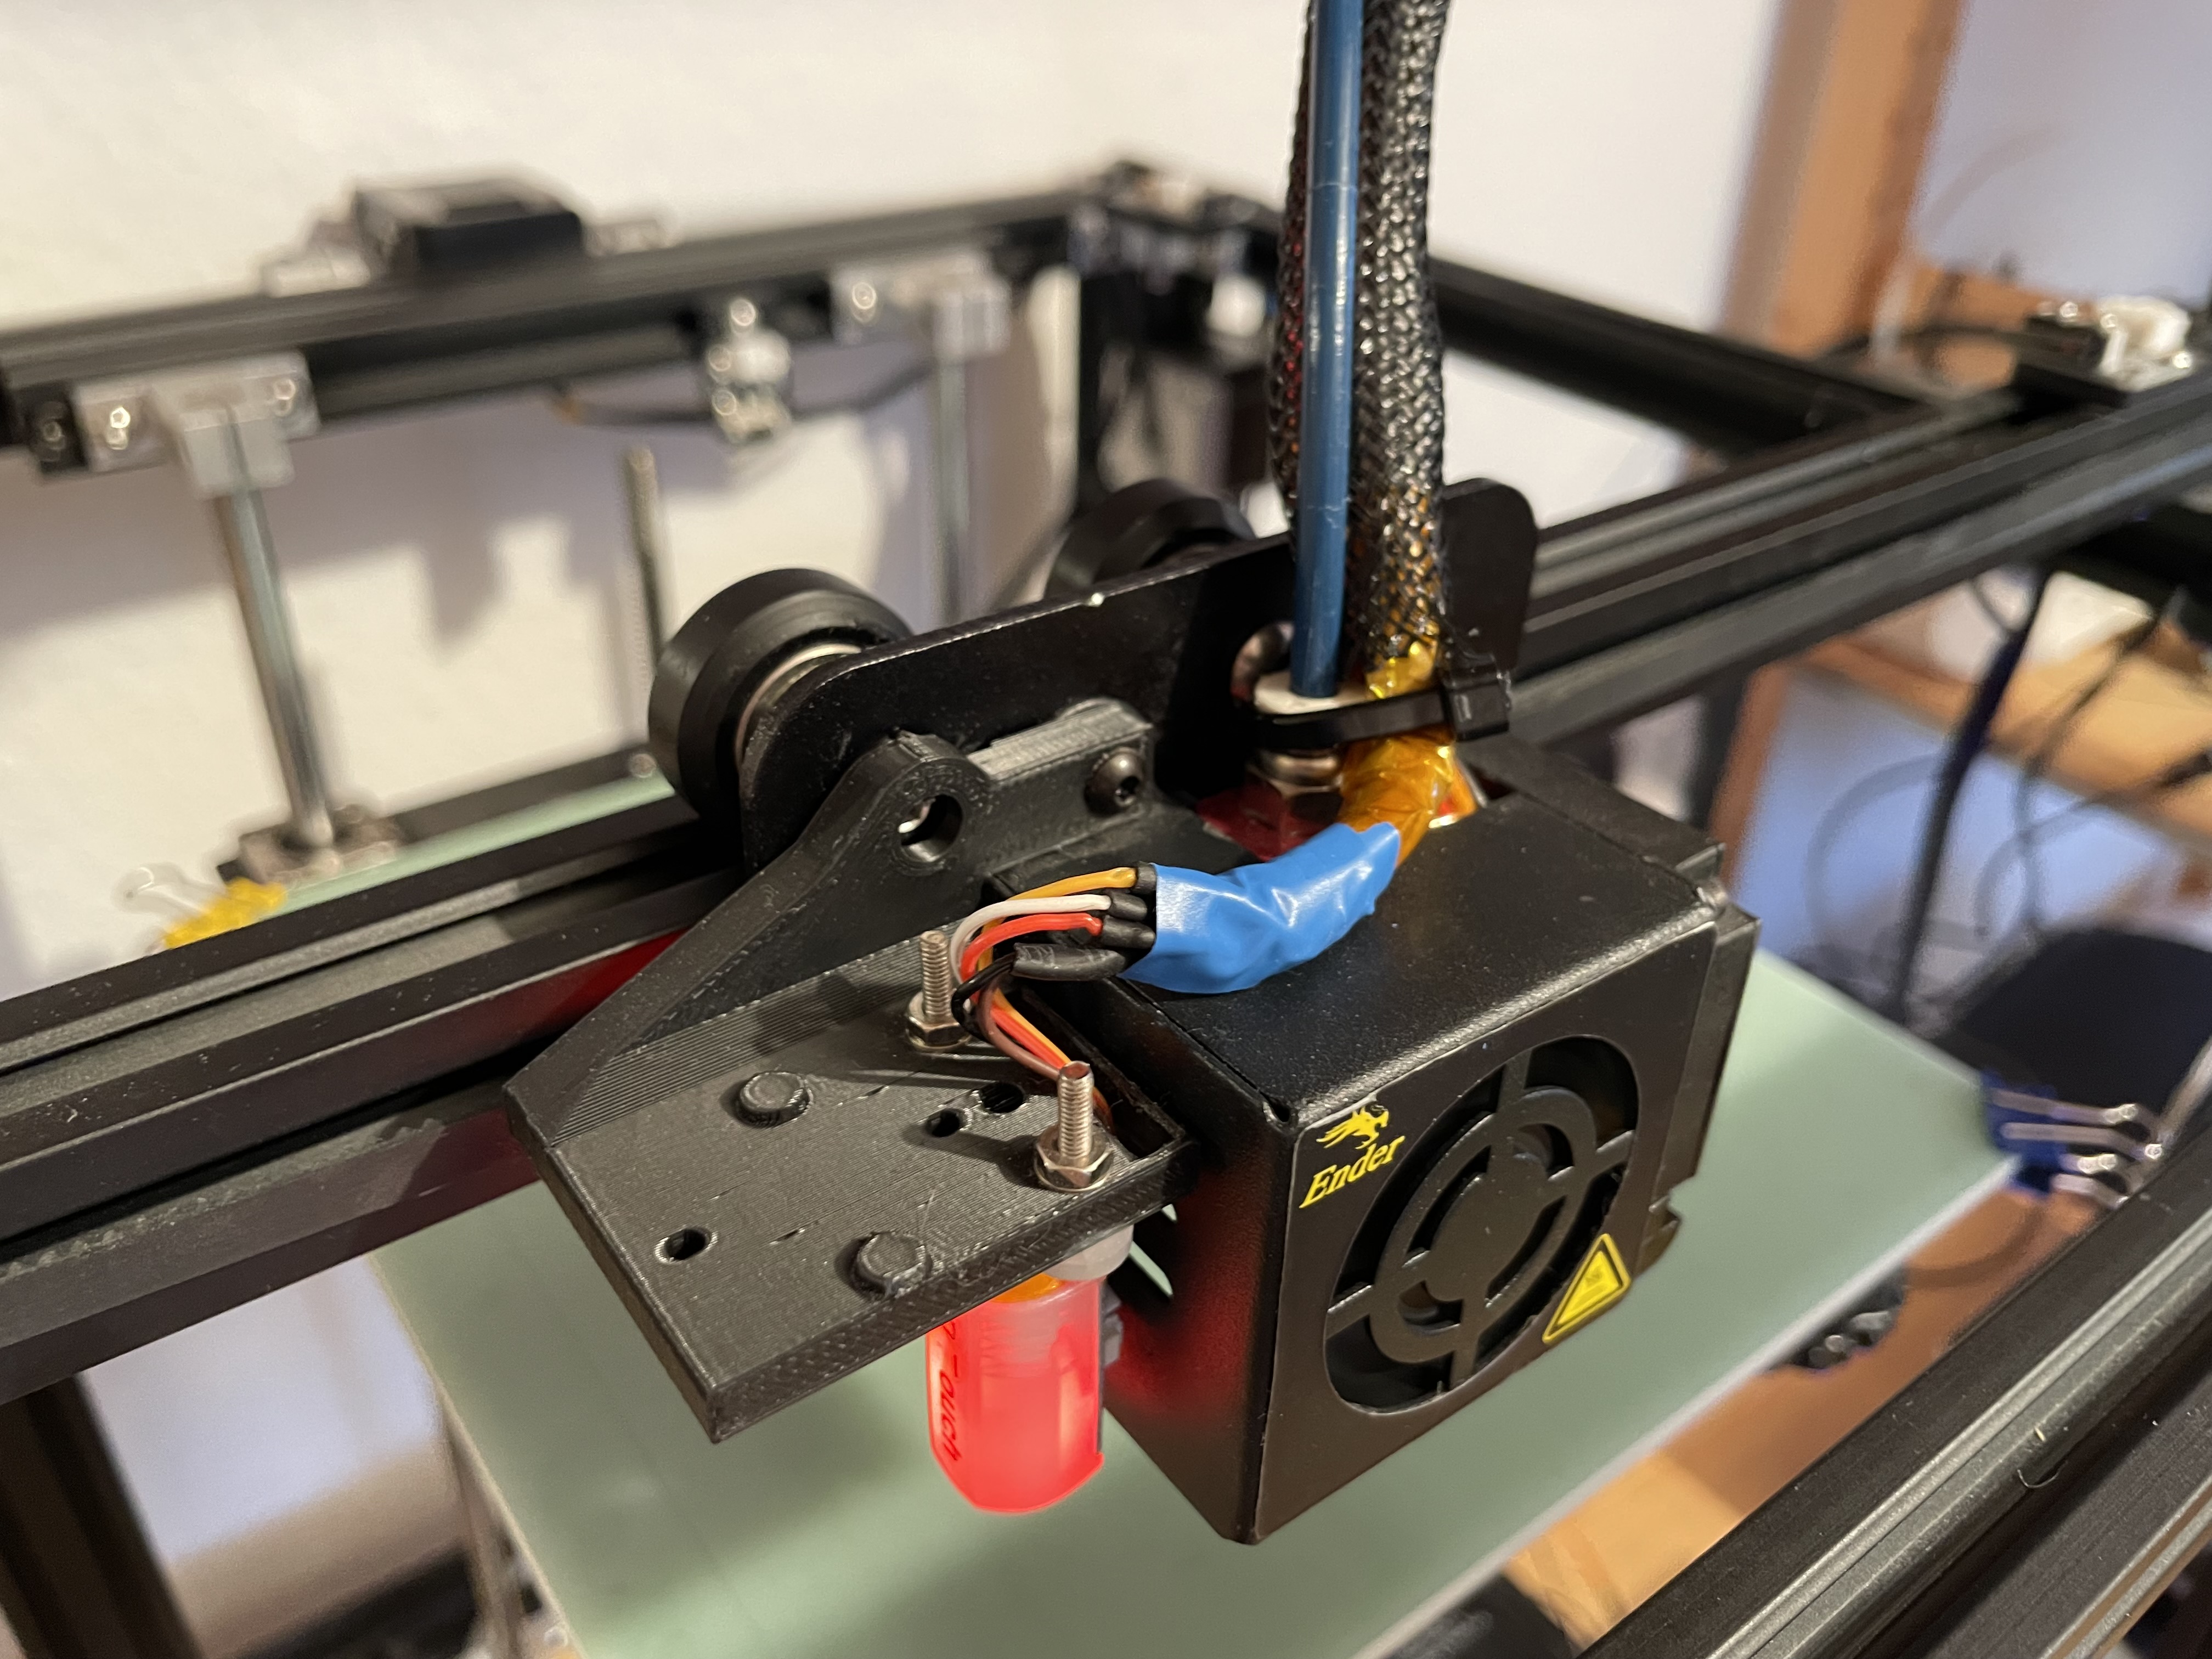
Cable Management
With a BL-Touch and an accelerometer on the print head, I suddenly need more wires to the extruder (this is stil la bowden drive Ender 5). So working with what I have at hand, I stripped the plugs from an old Kat5 cable and use it as sensor wire.
So I designed this completely not over engineered BL-Touch and and ADLX-345 holder for my Ender 5.
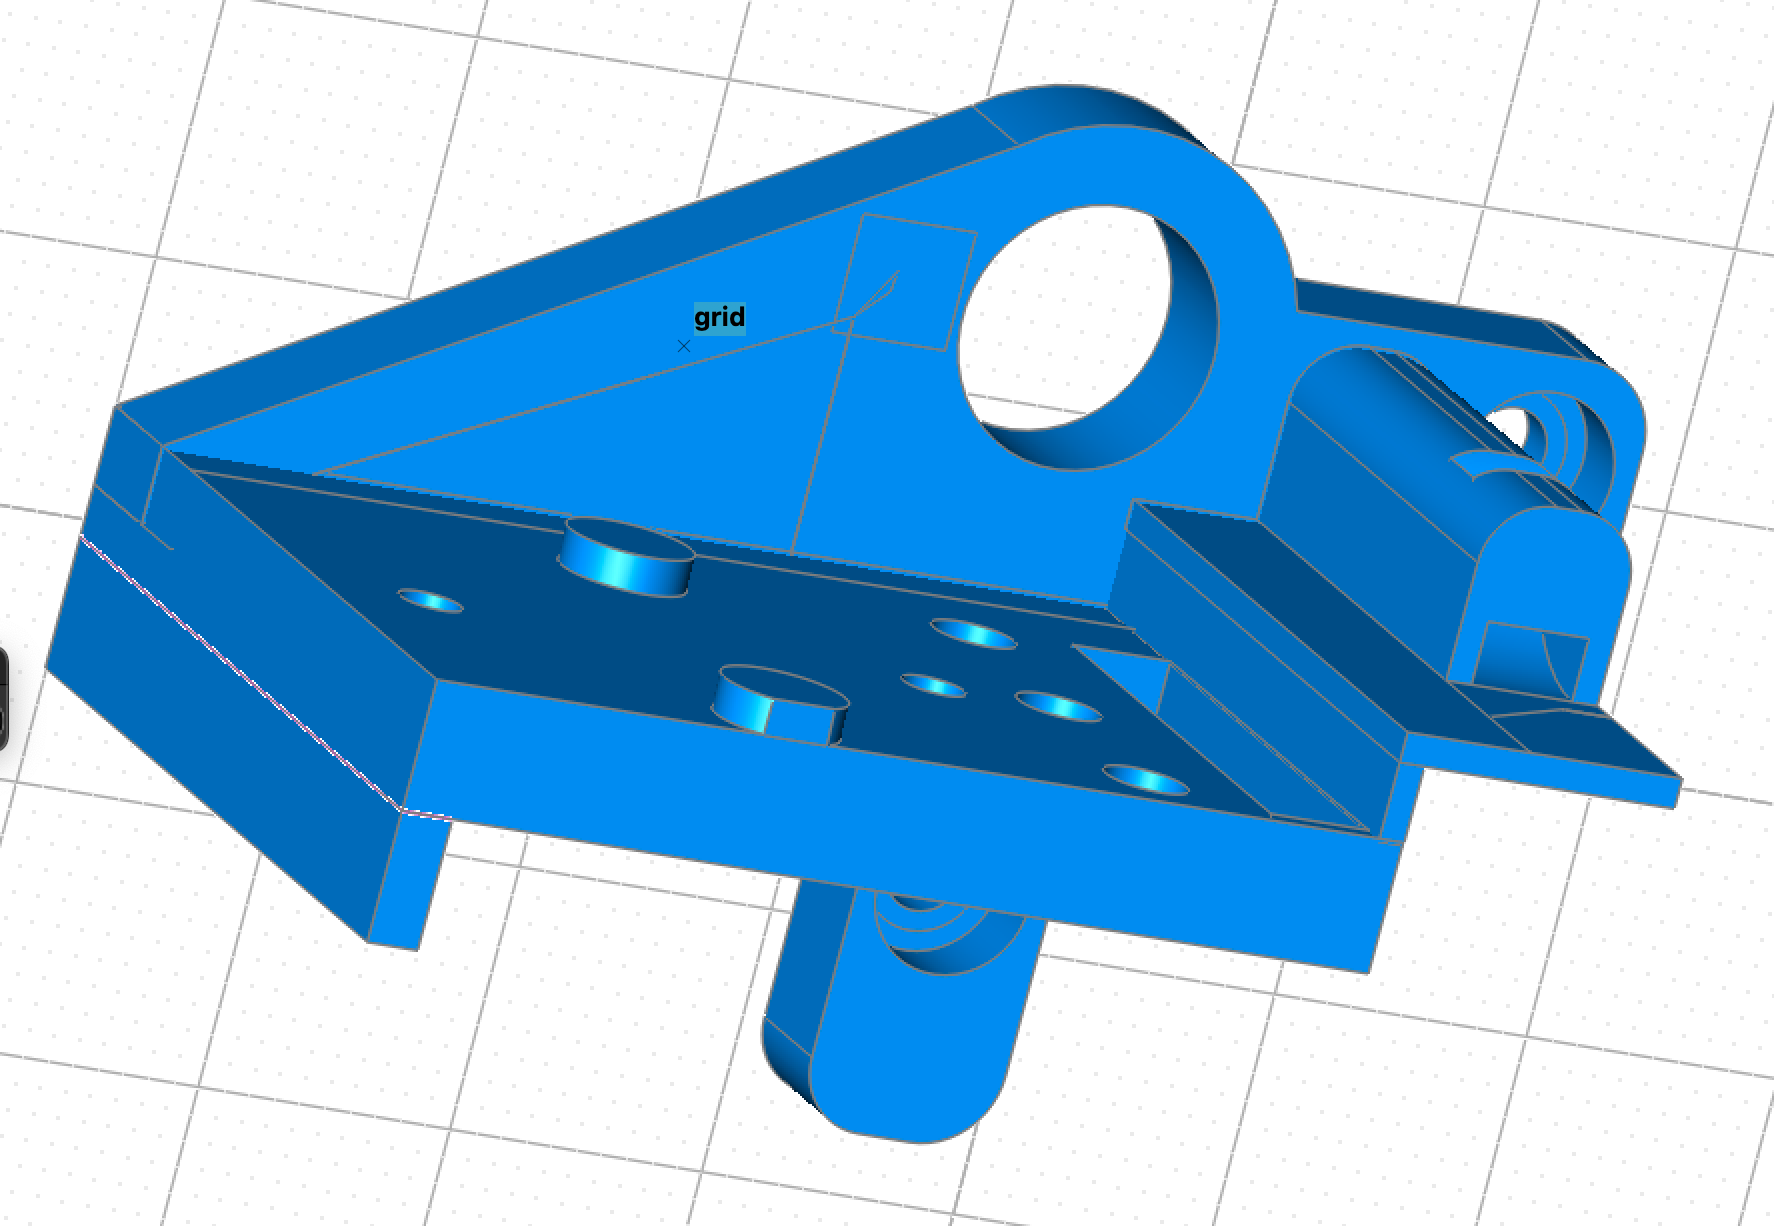
Holder for ADLX-345 and BL-Touch
An older version of the BL-Touch holder with the ADLX-345 still missing.
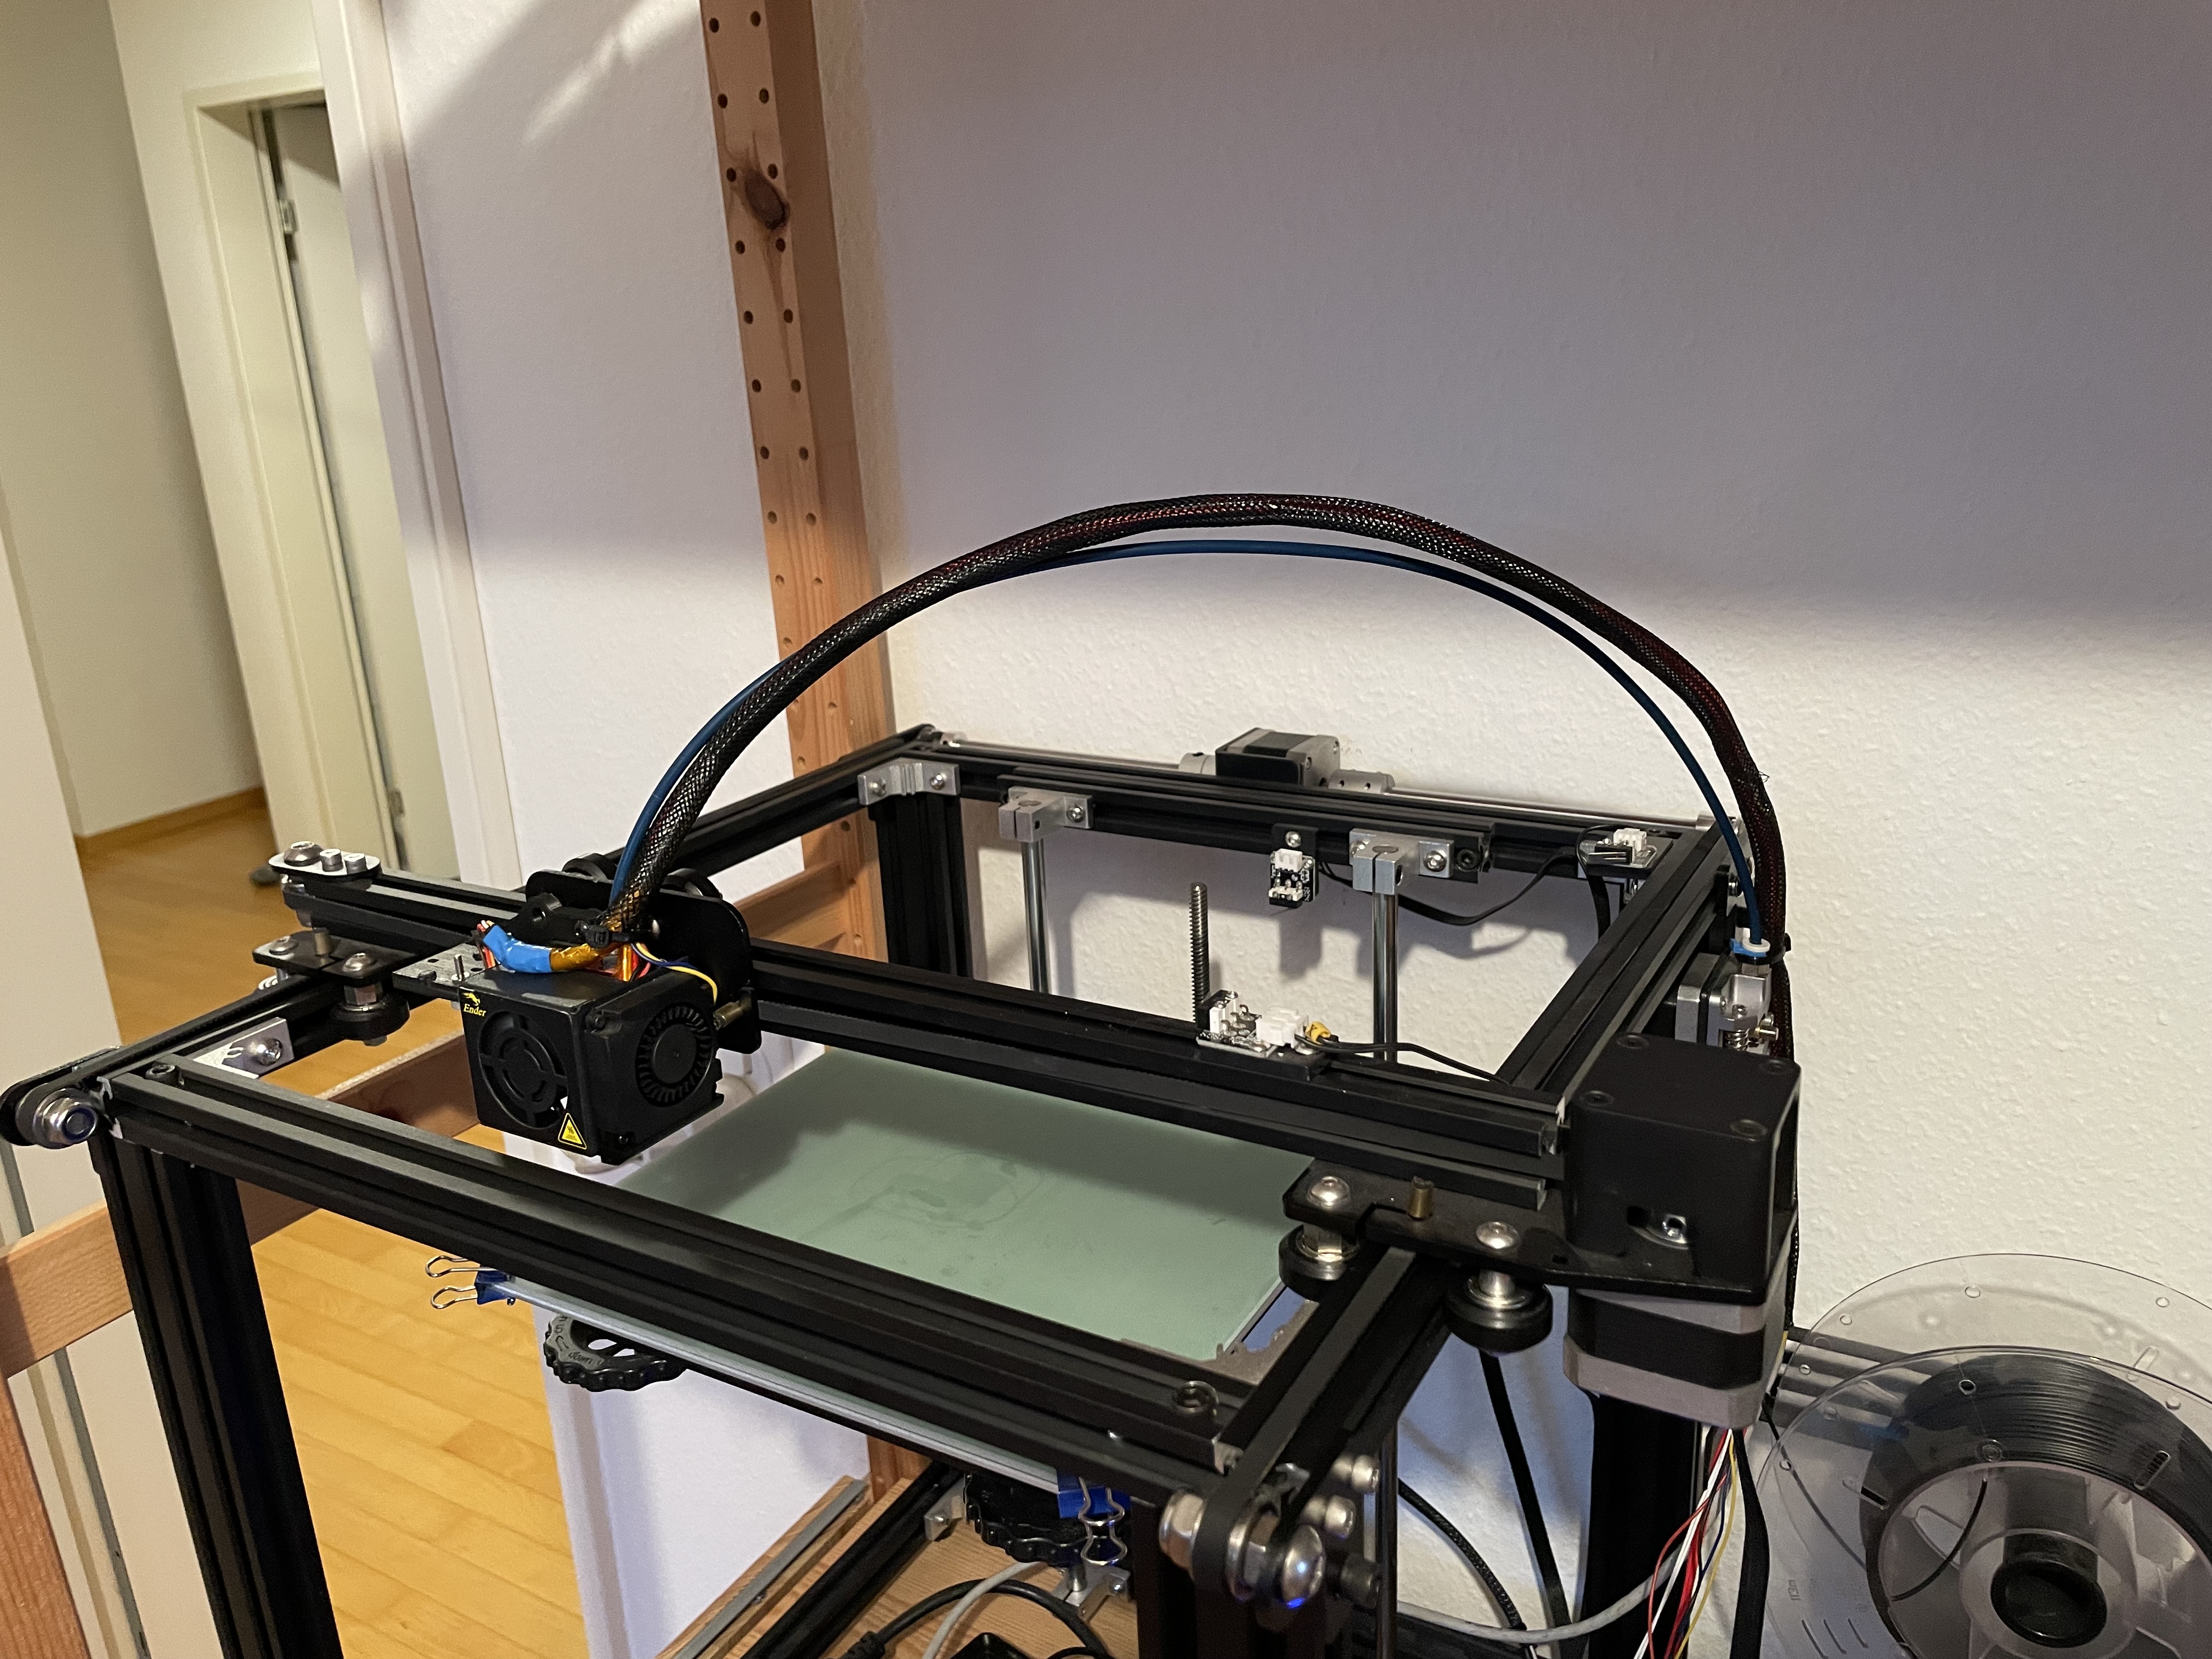
Never had such a tidy wiring before on this printer.
After all the wiring has been soldered and put in place, the printer had to be calibrated again. Here is the procedure:
Test Bl-Touch
Check if the wiring is ok, the Bl-Touch is glowing red – good sign.
- Check if the touch moves:
BLTOUCH_DEBUG COMMAND=touch_modeBLTOUCH_DEBUG COMMAND=pin_down
- check if state can be read
QUERY_PROBE: probe: open- push with the fingernail against the probe:
QUERY_PROBE: probe: TRIGGERED BLTOUCH_DEBUG COMMAND=pin_upQUERY_PROBE: probe: open
- Home and test if the Z-Axis stops
G28start homing- wait for Z-Axis to move and gently push against the touch
- z-Axis should stop, if not power printer off to prevent the nozzle hitting the bed
- Restart homing and see if BL-Tocch stops Z-Axis
G28- Wait, see and pray (be ready to turn off the printer ^^)
Calibrate BL-Touch
X/Y Axis: Measure Offset
This should have not changed, but for goos measure we gonna check again. Mark a position in the center of the bed with tape and move the nozzle to that point.
GET_POSITION

17:11 mcu: stepper_x:6689 stepper_y:9960 stepper_z:-23251
      stepper: stepper_x:143.000000 stepper_y:137.000000 stepper_z:1.001000
…
Now move the extruder so that the BL-Touch is above the marker and measure position again:
GET_POSITION

17:13 mcu: stepper_x:9969 stepper_y:11000 stepper_z:-23251
      stepper: stepper_x:184.000000 stepper_y:150.000000
…
So the offset is X: 143 - 184 = -41 and Y: 137 - 150 = -13. Let’s update the printer.cfg file:
[bltouch]
…
x_offset: -41.0
y_offset: -13.0
…
Issue a RESTART command so that the new values take effect.
Z-Axis
Do a normal paper calibration.
- Start by homing the printer and then move the head to a position near the center of the bed. Run the
PROBE_CALIBRATEcommand from the Terminal. - Use the on screen menu to adjust the Z-Axis using the proven paper test method.
- When don click
ACCEPTand issue aSAVE_CONFIG.
If the following error occurs:
17:20 Move out of range: 79.000 117.000 -0.151 [0.000]
The manually set a z-Offset in the config , save and restart Klipper. Repeat.
1[bltouch]
2…
3z_offset: 4